There are three ways to post to Instagram from your desktop:
- Grids
- IGdm – for chatting
- HopperHQ in-browser service
I bought the Grids app since I found it most reliable for my needs. What’s your favorite?
For more details on how to do this, check out this post on SoftwareHow.
Linking Your Instagram to WordPress
Another cool thing you can do with Instagram is to display your feed on a WordPress website. As I discussed in my article on the subject, there are several reasons why you would want to do this.
The best plugin for this purpose is Spotlight, which can be downloaded for free on WordPress.org but also has a premium version that adds more features such as curation of imported items.

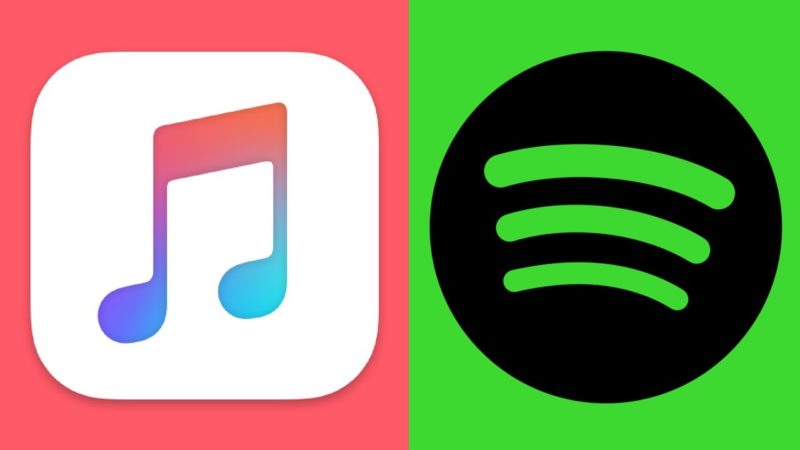 I use Spotify all the time and find it highly annoying when the play button on my keyboard opens iTunes instead of controlling Spotify. This happens with other media buttons too once iTunes is open.