Searching for a web hosting company to host your blog or site can be a really time-consuming, frustrating, and draining task. That’s a fact. I know people who have been publishing sites for years and who have still not found a hosting solution that they are completely satisfied with.
Today I am sharing my experience to help you find a perfect host for your needs.
Yes, we need to focus on your needs in order to find the best web hosting solution for you. The biggest mistake you can make is to read page upon page of reviews on web hosting forums, without first carefully analysing your particular use-case. Sure, some web hosts are more reliable than others, some of them have great customer service and others seem hell bent on making their customers lives miserable, but that is not the most important thing to start from.
I started my adventure with web hosting many years back, and my first web hosting experience was far from positive. In fact, the first company I had chosen suddenly disappeared, taking with it all its clients’ data. Can you believe that? That cost me much grief as in those times I used to rely on backups provided by the hosting company itself. Which means that I had no access to my data and neither to the backups.
After that traumatic experience, I decided that I was going to change my strategy with hosting completely.
Here’s what I did.
First of all at that time I switched over to WordPress, and have been using this CMS for any website I build since then. If you’re building sites and haven’t used WordPress, you’re really missing out, go check it out immediately!
Anyway, the first step of my strategy was to take responsibility for my own backups. After much research, I decided to use BlogVault.
With backups taken care of, I proceeded to take a good look at the websites I needed to host. I had a whole range of sites, some of them my own, and others of friends of mine. Not all of them had the same requirements, a few would do with basic hosting while others like WP Mayor needed specialized hosting to handle a large number of visitors.
By now I’m sure you’re realising that you cannot go searching for the cheapest web hosting, the fastest web host, etc. because there ain’t no such thing.
There is no best web hosting provider.
But…
There is a best hosting solution for each of your sites.
What are we saying here? We’re simply saying that your search for web hosting needs to start from the needs of each and every website you want to host, and once you know what you want, it’s relatively easy to find a good web host.
I told you that for a site like WP Mayor I needed specialised hosting. Why is that? Well, that particular site has a global audience, so the site must be loading fast from any corner of the world. That suggests the need for a Content Delivery Network (CDN) so anyone can get the page elements loaded from a location closest to him.
What about server power? That site receives thousands of monthly visitors, and so I needed a server which packed a punch in its setup, and was able to handle sudden spikes of traffic. Caching was definitely on the cards here, together with raw computing power. Besides, I don’t have the time or knowledge to tweak a hosting setup for these specialised requirements.
A quick look around and it was fairly evident what the solution for WPMayor’s hosting was: a WordPress managed-hosting solution. I needed someone to host my site, someone who I could rely on and who had experience working with WordPress and tweaking the hosting environment to be perfectly optimised for this CMS. Turns out there is a hosting company which provides just that, and everyone who works there is knowledgeable at WordPress + Hosting. Just perfect!
Specialized Managed WordPress Hosting: WP Engine or Kinsta
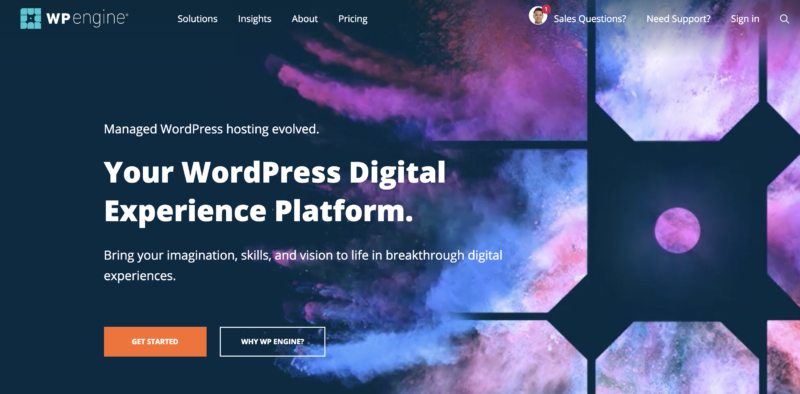
WP Engine and Kinsta are in my opinion the most reliable WordPress hosting solutions out there, with an equally reliable support staff who are always ready to help you out with any issue you might have.
If you have specialised requirements for your blog, or run a high-traffic blog, look no further because both WP Engine and Kinsta will give you all you need.
The cheapest plan at WP Engine, which caters for 1 site and up to 25,000 visits/month, is available at $35/month with a CDN included. This is especially great if your target audience is a global one.
If you want to host more than one site at WP Engine you can step up to the next package which will set you back $115/month but includes a CDN and hosting for up to 5 websites, with a maximum of 100,000 visits/month.
Since I have many websites that I manage or am involved with in some way, I get to use several good WordPress managed hosts. Several of my bigger sites are hosted on either Kinsta or WP Engine, so I took some notes that I will update as I go along on the experience with both of these highly ranked hosts.
Support
Ease of connecting to support is a hands-down win for Kinsta. With WP Engine, you have to select what’s the issue, then wait to get connected. It’s an older and cumbersome chat system when compared to Kinsta, which uses Intercom.
WP Engine staff are excellent at handling the basic questions, but might need to ask a higher-tier support person for more complicated questions. The chat system for Kinsta feels a bit more personal and the first level staff feels more knowledgeable to me. Nevertheless, both offer great support and this shouldn’t be something that sways you one way or the other.
Transactional emails
WP Engine – Password reset emails can be sent from our servers but these other emails would be considered bulk email use that you would need to setup a 3rd party email service for.
Backups
With Kinsta backups are taken every 6 hours or every hour.
Analytics
Kinsta has some cool analytics that WP Engine doesn’t provide. Not a deal-breaker but it’s cool to have that extra tool to play with.
Blog and Knowledgeable Base
Another clear win for Kinsta. They have an excellent blog and publish lots of performance-related content that’s not easily found on other WordPress blogs. The knowledge base seems to anticipate what I need. WP Engine’s is good, but Kinsta just seems to know exactly what I need, I guess I just prefer their style of content production.
Content Delivery Networks (CDN)
WP Engine allows custom URLs and Kinsta does not. WP Engine uses MaxCDN and Kinsta integrates with KeyCDN.
After testing jeangalea.com with both the Kinsta CDN and the Cloudflare CDN activated, I found that the combination doesn’t work very well. I tried using just the Kinsta CDN, and then switched to the Cloudflare CDN, with the latter proving to be clearly superior, perhaps also due to the other goodies that come with Cloudflare such as image optimization and file minimization.
I can highly recommend both WP Engine and Kinsta. They are very well managed companies who have been involved with WordPress for years, and your website will be safe with any one of them. Right now I would give the edge to Kinsta, unless you have low traffic, simple sites, in which case WP Engine will work out to be cheaper for you.
Over to You, Go Get Your Perfect Hosting Solution!
That’s my web hosting story with a happy ending. Nowadays I have my mind at rest hosting all my sites between WP Engine and Kinsta, and having them backed up via BlogVault. I’ve found this to be an absolutely fantastic setup that can be adopted by many of you out there, which prompted me to share my experience. Hope you can benefit from my experience.
Do you have any questions about hosting which I haven’t answered in this post? Please leave a comment and I’ll do my best to help you out.