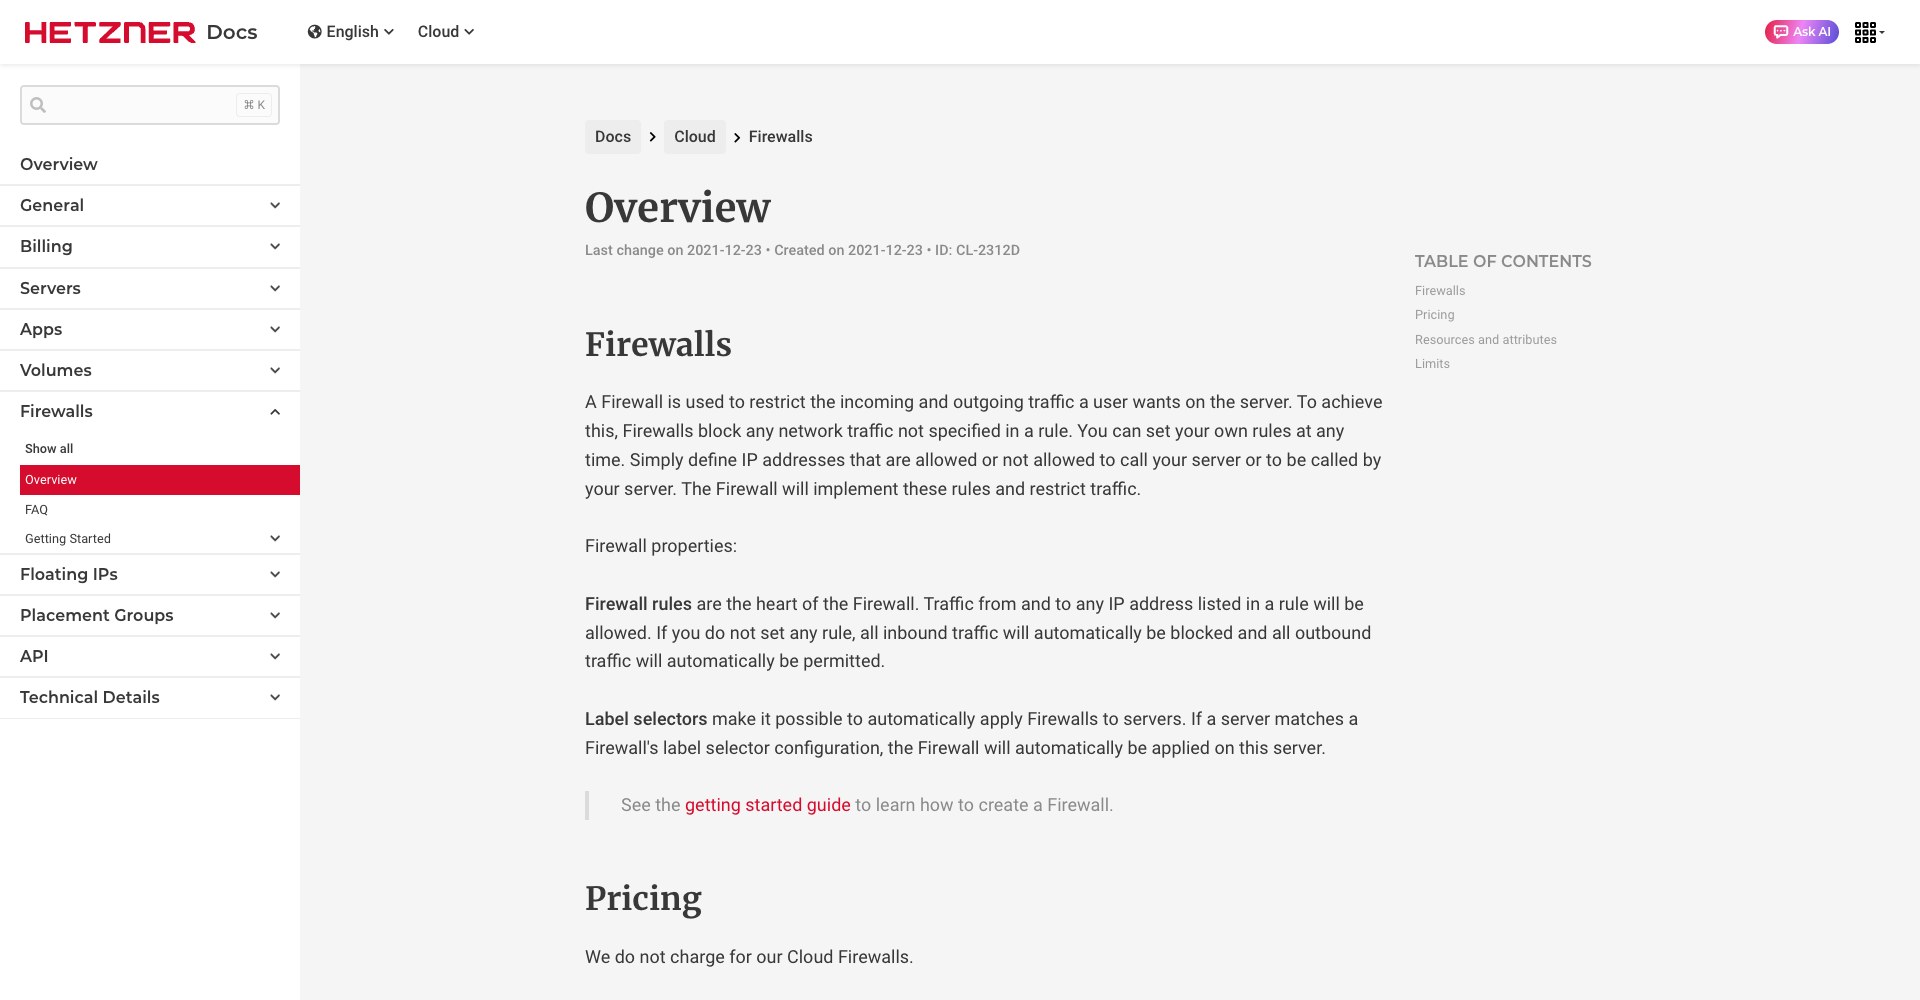
If you run a website or an app on a rented server, that server is under attack within hours of going online. It isn’t personal. Automated programs scan the whole internet around the clock, trying the front door of every machine they find: guessing passwords, looking for software that’s left open, hunting for anything easy.
The good news is that a few changes block nearly all of it, and you don’t need a security background to make them. This guide covers them in the order that works best, with each step explained in plain English. It assumes a Linux server (Ubuntu) rented from a host like Hetzner or DigitalOcean. If you’re still setting one up, the self-hosting guide comes first, and the Hetzner, DigitalOcean and Workers comparison helps with choosing a host.
Start by Looking, Not Changing
Before you change anything, find out what the server is doing right now. Which programs are listening for connections from outside? How can people log in? You can ask the server directly:
ss -tlnp
sshd -T
The first command lists everything listening for connections. The second prints the login rules the server is actually using, which sometimes differ from what you think you set. If this looks like gibberish, paste the output into an AI assistant and ask it to point out anything exposed to the internet.
Then set up a safety net, because the biggest risk when tightening a server is locking yourself out. Keep one connection to the server open the whole time. After every change, open a second connection to prove you can still get in. Know where your host’s web console is, since it works even when everything else is broken.
Turn On the Firewall Your Host Gives You
A firewall is a gatekeeper that decides which traffic reaches your server. Hosts like Hetzner provide one free, sitting in front of the machine, which is better than one on the machine itself because bad traffic never arrives.
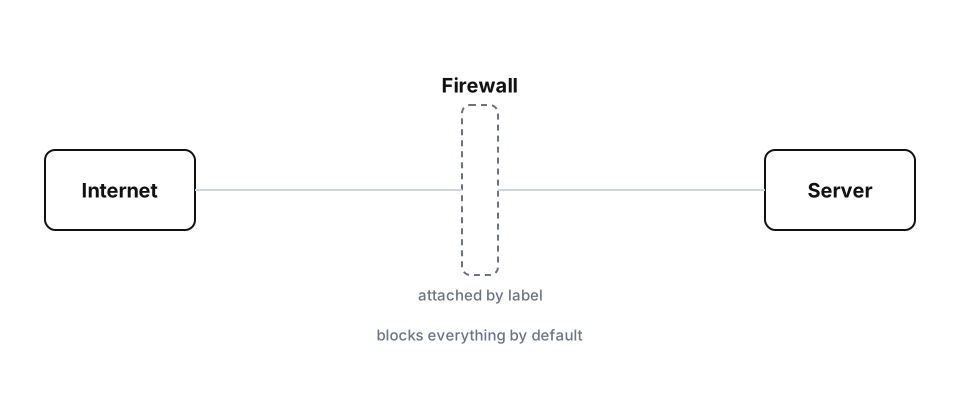
The trap is that you can create a firewall and forget to attach it to the server. The dashboard shows a tidy list of rules while protecting nothing. After setting it up, check from outside. A free tool called nmap, run from your own computer, shows which doors are open from the internet’s point of view.
A sensible Hetzner firewall blocks everything coming in by default. Then you allow only what you need: web traffic if the server hosts websites, and login traffic from your own address. You can attach it by label, so every new server you create with that label gets the same protection automatically.
Replace Passwords With Keys
The way you log into a server is called SSH. By default it accepts passwords, and those are exactly what the scanning programs guess, constantly. A key is a long random file that lives on your computer and works like a physical key. It can’t be guessed, so you switch passwords off.
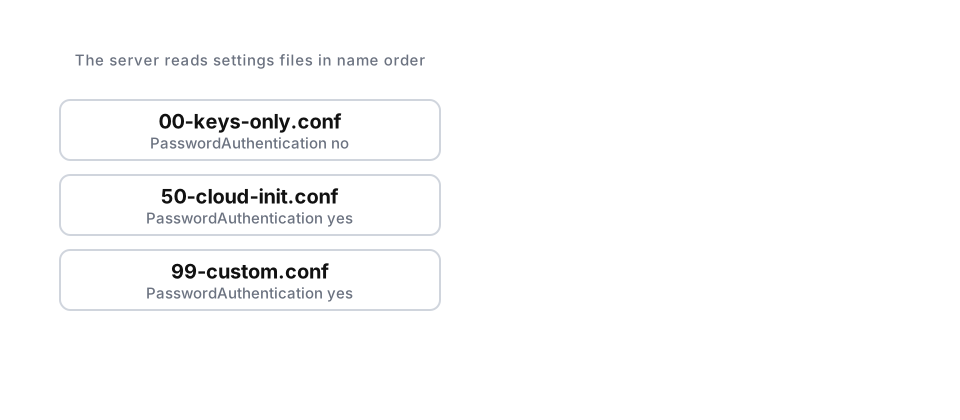
Here’s a catch that trips up experienced people too. Some cloud images ship with a settings file that turns passwords back on, and the server obeys the first setting it reads. So you put your own file in the same folder with a name that sorts earlier, starting with 00:
# /etc/ssh/sshd_config.d/00-keys-only.conf
PasswordAuthentication no
PermitRootLogin prohibit-password
The first line turns passwords off. The second stops the administrator account, called “root”, from being used with a password. After saving, run the sshd -T command from earlier to confirm the server is using your setting, then try logging in with a password from another machine. It should be refused immediately.
Add a tool called fail2ban as well. It watches for repeated failed logins and blocks that address for a while, which keeps the bots from wearing you down.
Docker Can Open Doors Without Telling You
Docker runs your apps in separate containers, and it’s popular because it makes deployment easy. It also has a nasty habit. When an app asks to be reachable on a port, Docker opens that port to the whole internet and skips the server’s firewall rules entirely. You can have a strict firewall and a wide-open app at the same time.
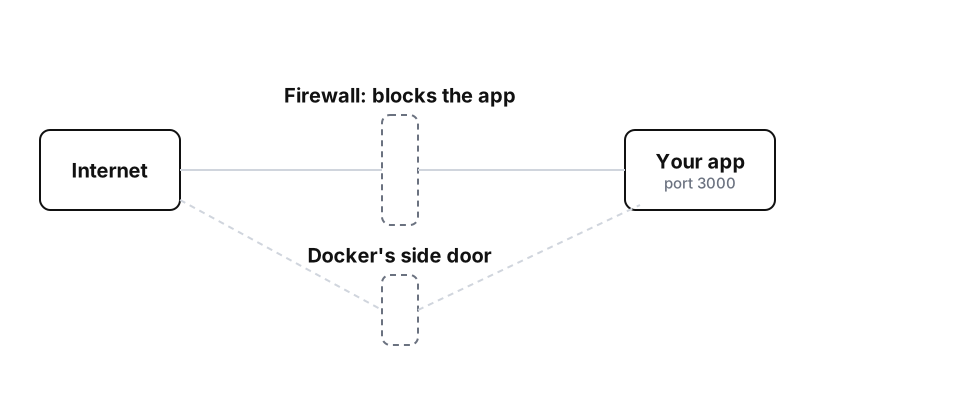
The fix is one small change in your Docker settings file. Tell the app to listen only on the server itself, and let your web server forward visitors to it:
ports:
  - "127.0.0.1:3000:3000"
That 127.0.0.1 means “this machine only”. Databases are the most important to keep private. They should have no published port at all.
Give Your Deploy Tool a Key With One Job
Many people use an automated tool that pushes new versions of their site to the server whenever they update the code. That tool needs a way in. If it gets a full-access key and someone steals it, they own your server.
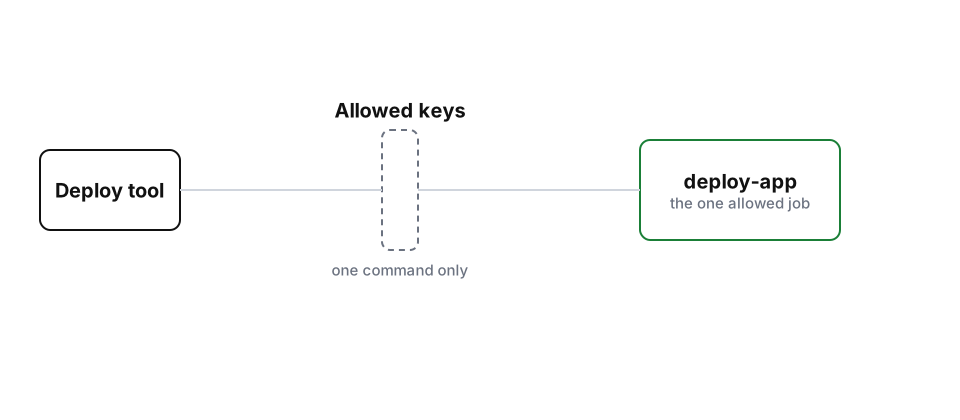
Instead, give it a key that can only do one thing. In the server’s list of allowed keys you can attach a single command to that key. Whatever the tool asks for, the server runs that one command, the deploy, and nothing else. A thief with that key gets a deploy and nothing more. For the same reason, don’t give the deploy account broad powers over Docker, because that’s the same as handing over the whole server.
Keep Backups Somewhere the Server Can’t Touch
Backups matter most on the day something goes wrong. If an attacker gets into your server and the backups sit on the same server, or can be deleted from it, they’re gone too. That’s how ransomware works.
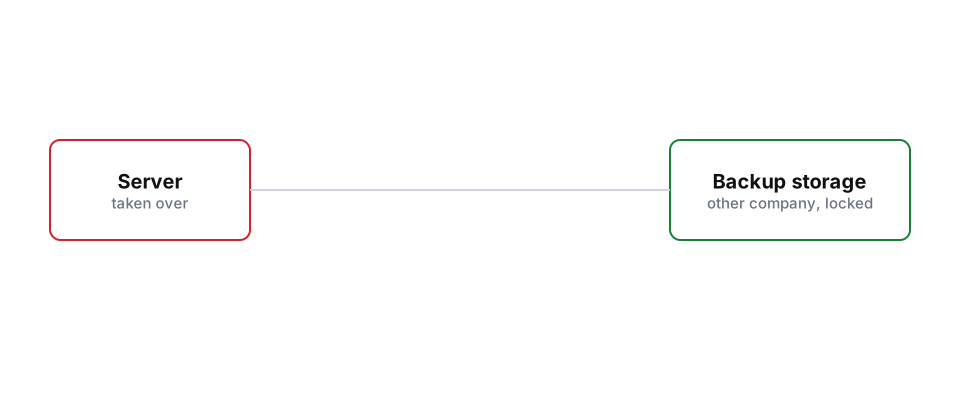
The fix is keeping copies at a different company, in storage with a feature called Object Lock. Once a file is written, it can’t be deleted or changed for a set period. The server only gets permission to add new backups, never to remove old ones. The backup routine for self-hosted apps shows how to create the backups themselves. Then test one: restore it somewhere and make sure it opens. A backup you’ve never tried to restore is a hope, not a backup.
Updates and Everything Else
Switch on automatic security updates so known holes get patched without you remembering to do it. Keep your database reachable from the server only. If you’re using Cloudflare to protect your site, set up the Cloudflare Tunnel option as well, which lets you close the login door to the internet entirely.
There’s more you can add later, such as activity logging and security scanners. Do those after the steps above are in place and checked from outside, because every extra layer is another thing that can lock you out if you apply it carelessly.
Related





Leave a Reply