
Most conversations about feed aggregation in WordPress orbit the same use case: pulling in blog posts, news items, curated content. That’s useful, and I’ve written about …

Your WooCommerce Store’s Blog Is Probably Dead. Here’s How RSS Feeds Can Fix That.
The blog on most WooCommerce stores is either dead or posting once every six weeks. That’s not a content strategy. It’s a placeholder. I get why …
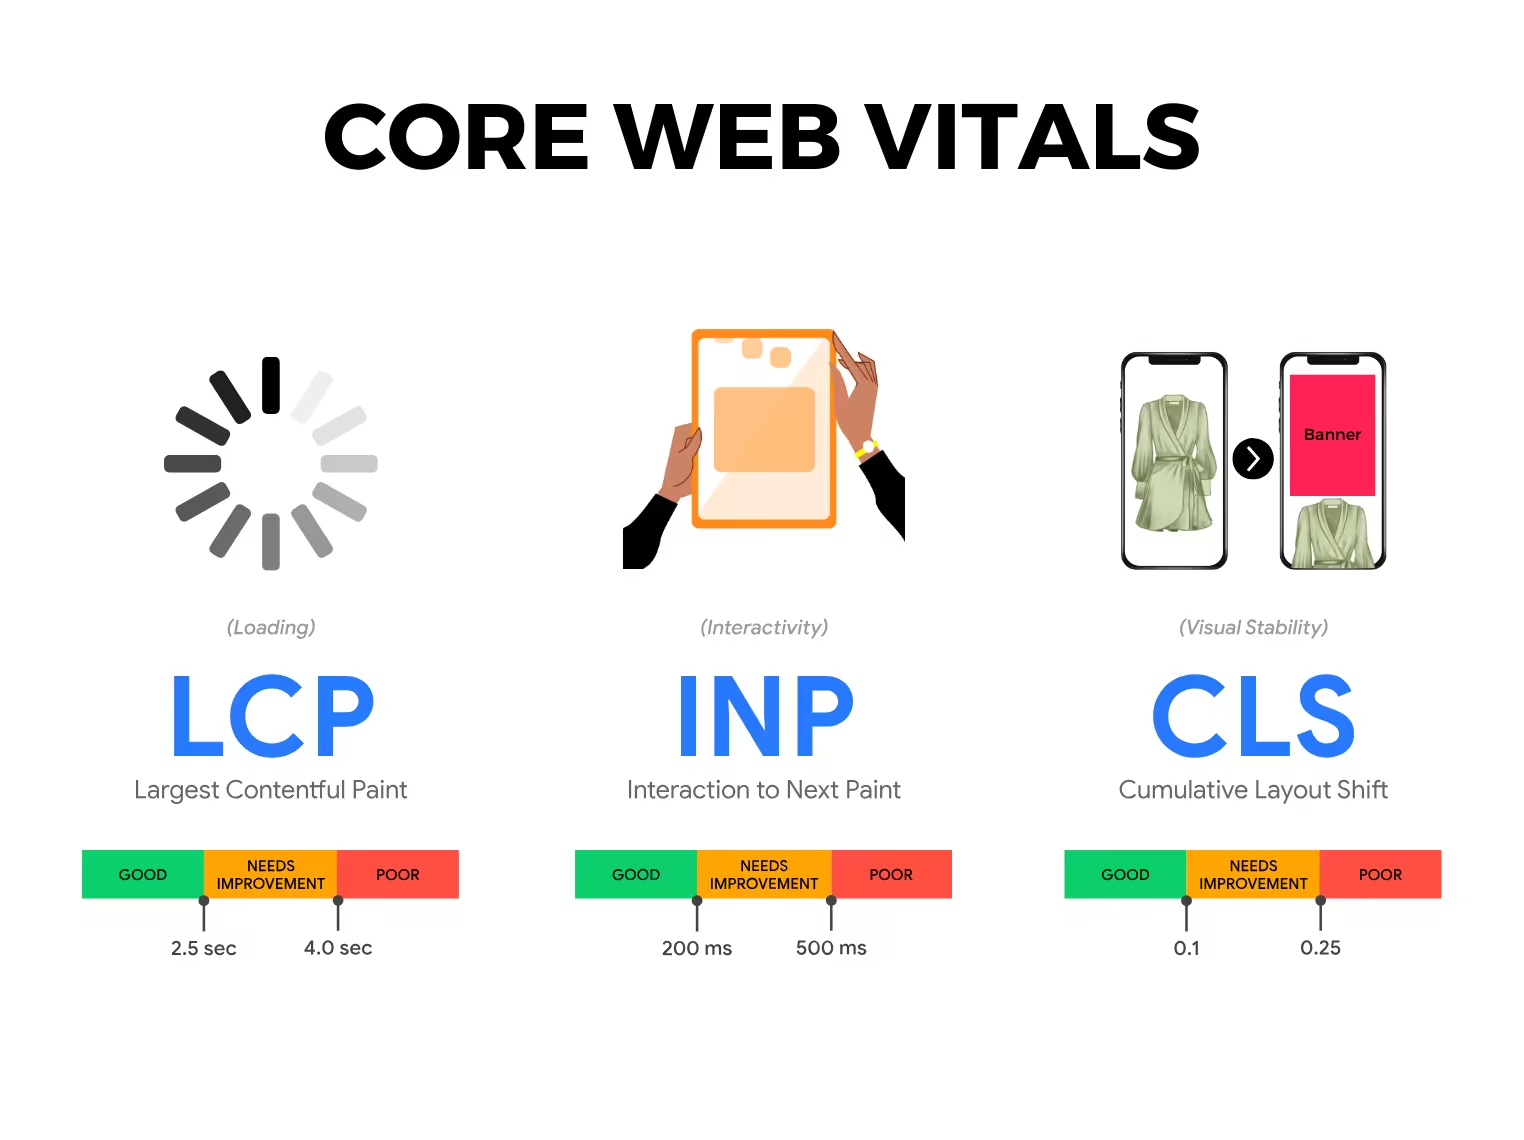
The Complete WordPress Performance Optimization Guide: How to Pass Core Web Vitals in 2026
Is your WordPress site failing Core Web Vitals? You’re not alone. Google’s performance metrics have become increasingly important for both SEO and user experience, and many …

Is There a WordPress Replacement in 2026? I Went Looking
After spending over two decades in the WordPress ecosystem — building sites and plugins, running WP Mayor, and watching the platform evolve — I recently found myself …

Rechargeable vs Single-Use Batteries: A Complete Guide
Rechargeable batteries have come a long way. I first wrote this article back in 2014, and while the core advice hasn’t changed — rechargeables save money, …

The Fastest Way to Build a $10k/Month Business With WordPress Plugins
Most developers waste years trying to invent something new. Top WordPress plugin founders do the opposite: they build in markets that already pay, fix what users …

How to Show the Full Date (Including Year) in Your macOS Menu Bar
By default, macOS does not allow you to show the year in the menu bar clock. You can show the day and date, but the year …

How to Back Up an Android Retro Gaming Device
Android-based retro handhelds like the AYN Odin 2 Portal and Retroid Pocket are powerful and flexible, but there is one big weak point: If you uninstall …
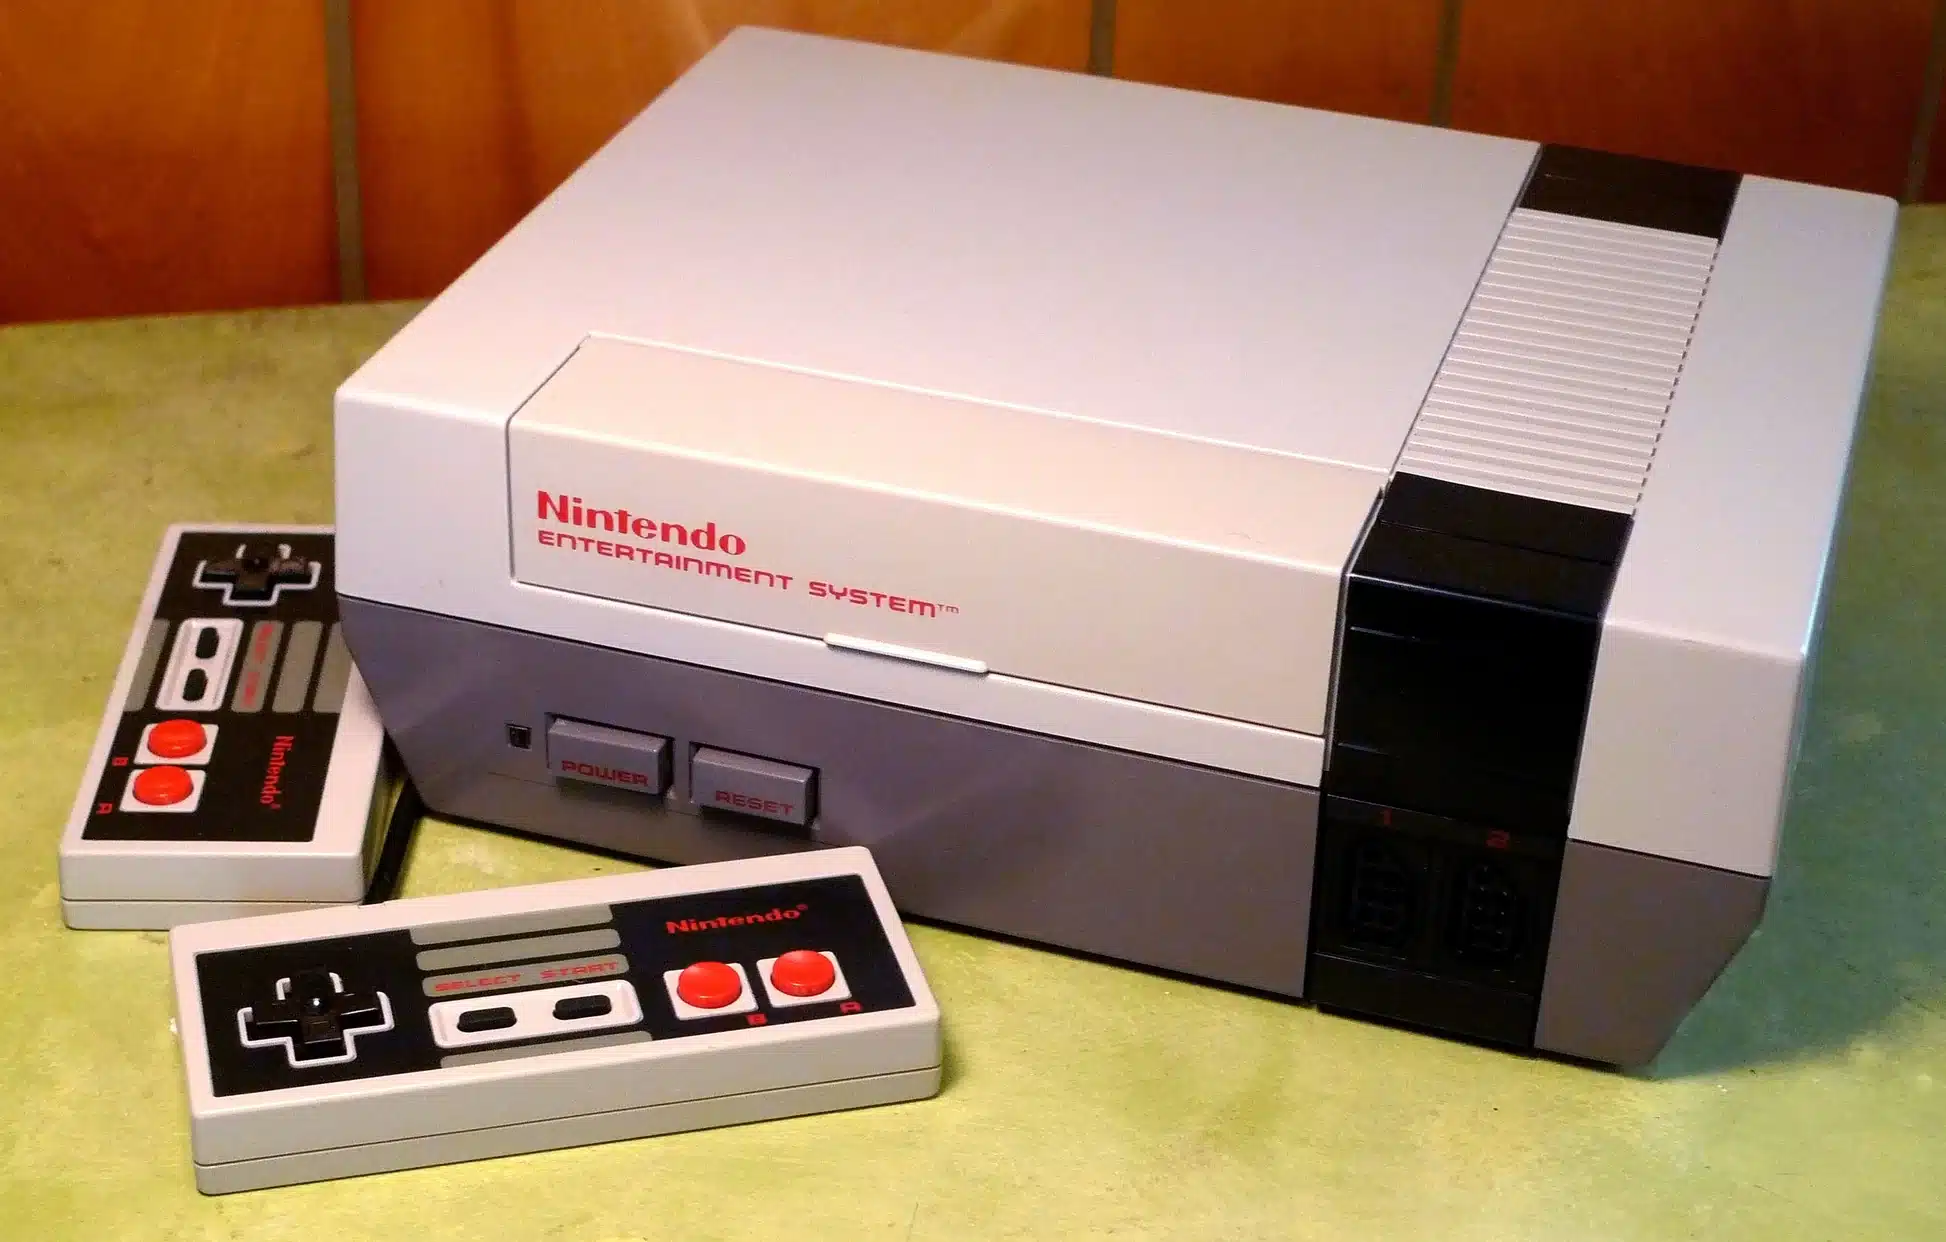
Retro Gaming on the NES – Exploring the Classics That Started It All
The Nintendo Entertainment System (NES) is where retro gaming truly begins for most people. It’s a system packed with iconic titles, foundational gameplay mechanics, and legendary …
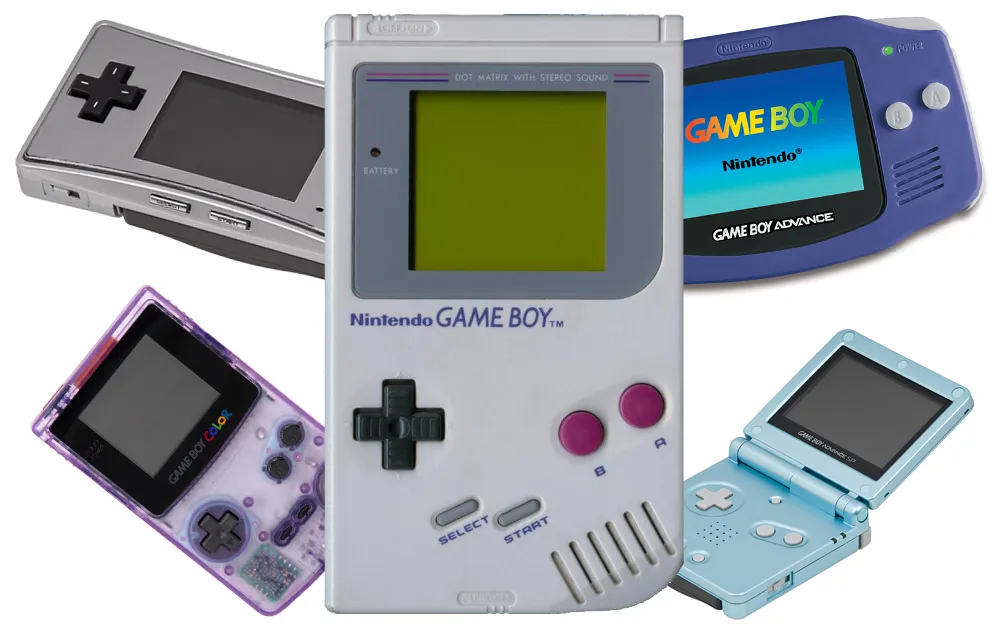
Retro Gaming on the Game Boy – Reliving the Legendary Handheld through Emulation
When Nintendo released the Game Boy in 1989, it didn’t just launch a product—it launched a cultural phenomenon. The Game Boy line would go on to …

Retro Gaming Handheld Consoles – Great for Kids and Adults Alike
Video games were present in every stage of my childhood and teenage years, and I continue to play games regularly to this day. I consider gaming …

Backing Up Your Data with Synology
Losing data is one of my biggest fears, so I try to make sure this never happens by using sensible backup solutions for all my data. …
