
Android-based retro handhelds like the AYN Odin 2 Portal and Retroid Pocket are powerful and flexible, but there is one big weak point: If you uninstall an emulator or reset the device, you can easily lose hundreds of hours of saves. With a simple setup you can make your entire retro collection portable and easy […]
Retro Gaming on the NES – Exploring the Classics That Started It All
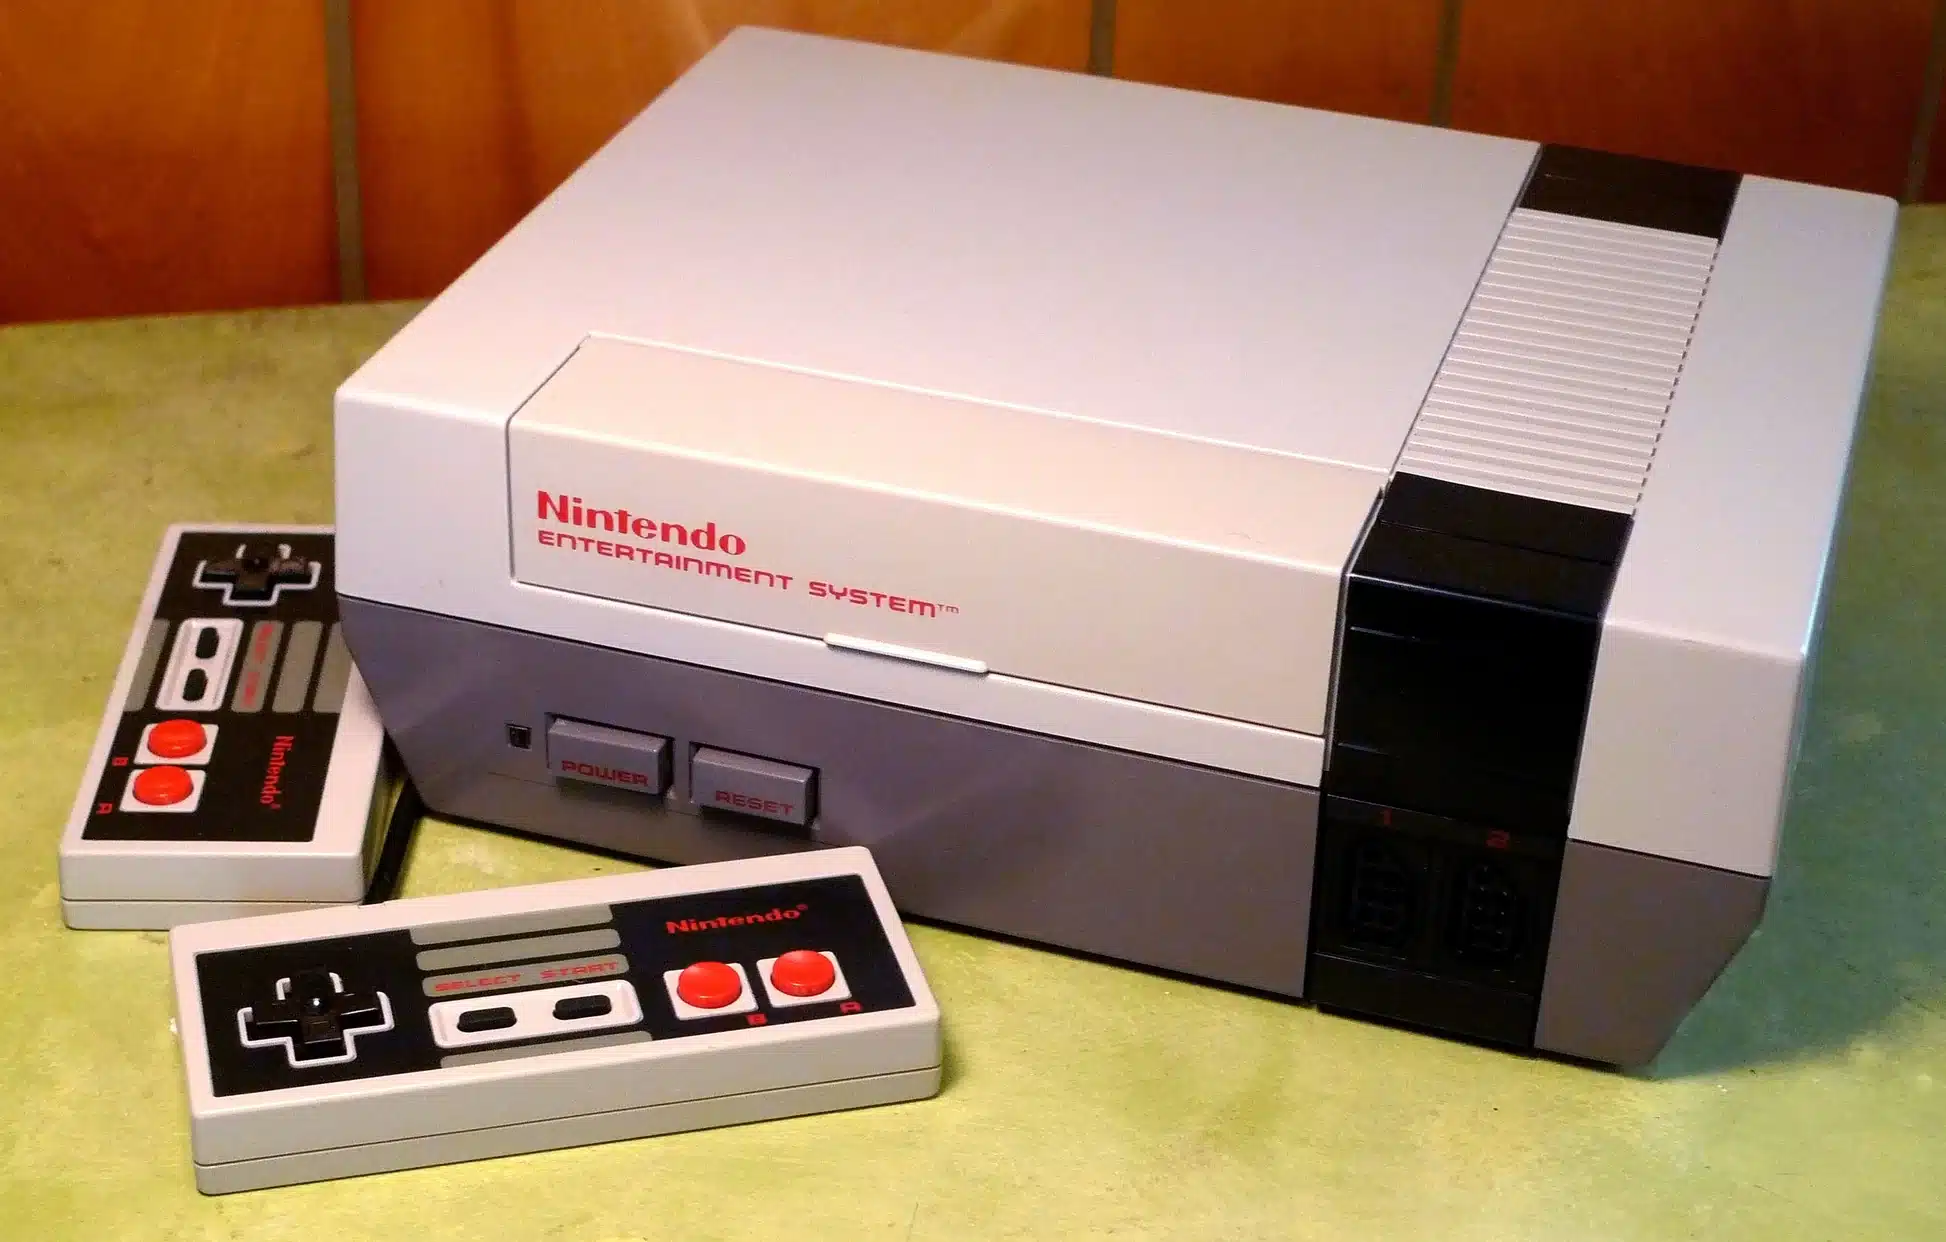
The Nintendo Entertainment System (NES) is where retro gaming truly begins for most people. It’s a system packed with iconic titles, foundational gameplay mechanics, and legendary characters that continue to influence gaming to this day. Even if you didn’t grow up with it, the NES offers a library that’s still incredibly fun — and often […]
Retro Gaming on the Game Boy – Reliving the Legendary Handheld through Emulation
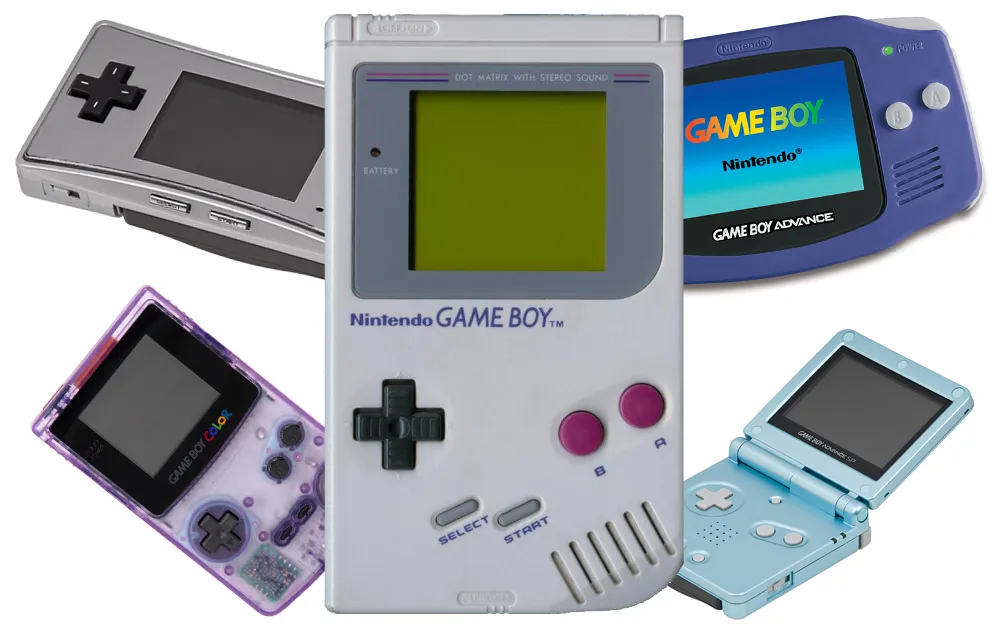
When Nintendo released the Game Boy in 1989, it didn’t just launch a product—it launched a cultural phenomenon. The Game Boy line would go on to sell over 200 million units worldwide and establish handheld gaming as a core part of the industry. The Game Boy was part of the wave of computers and consoles […]
Retro Gaming Handheld Consoles – Great for Kids and Adults Alike

Video games were present in every stage of my childhood and teenage years, and I continue to play games regularly to this day. I consider gaming to have been an immensely formative experience for me, as well as an essential outlet for stress and a trigger for my imagination. When I had kids, I was […]
Backing Up Your Data with Synology

Losing data is one of my biggest fears, so I try to make sure this never happens by using sensible backup solutions for all my data. One of the most important components of my backup strategy is the Synology Diskstation. In this post, I’ll talk about some options and my suggested setup. The assumption here […]
My Hardware Setup
With the new M2 processors introduced by Apple and their amazing performance, I’ve decided to switch around my hardware setup to be best suited to my lifestyle. Here’s what I have selected after doing my research. Macbook Pro 16″ M2 This will be my main machine and will be used at home and at my […]
What’s Beyond WordPress?

As a WordPress veteran, I’ve observed the fluctuations in the ecosystem for many years now. I’ve also written about my thoughts on the current state of things at various points in the past, but today I want to focus on that again with an eye on the future. I’m going to say things the way […]
Is WordPress Entering a Death Spiral?

My journey with WordPress goes way back, in 2006, to be exact. Over the years I’ve been first and foremost a user (running various blogs on WP), but I’ve also developed on the platform and run various plugin businesses too. For a while, I also ran an agency where I advocated hard for the benefits […]
My Software Setup and Recommendations

In this post I’ll be sharing the apps, websites and tools I use on a daily basis, in no particular order. Apps Nord VPN – my favorite VPN for accessing blocked content due to geo restrictions. Grammarly is an awesome, FREE, online grammar checker for proofreading. It identifies grammar mistakes, spelling mistakes, and typos. Simply click […]
Are Acquisitions in the WordPress Space a Good or Bad Thing?

This is an article that reflects on the high number of acquisitions we’ve seen happen in the past few years (2018-2021) within the WordPress space. There are basically a handful of companies behind all the big acquisitions, so there is no doubt that the product space is becoming more centralized, and these big companies now […]
Adding a Hardware Remote Control to Lego PoweredUP Control+ Sets

I love building stuff with my son, and one of our latest projects (admittedly more apt for me than for him as he’s too young to be building these kits), was the Lego buggy 42124. This is a great kit that is fun to build but it is let down by the fact that it […]
The Best Powerline Adapters for Your Home Network

If your WiFi doesn’t reach certain rooms in your home — especially in older European buildings with thick stone or concrete walls — powerline adapters are one of the best solutions available. They use your home’s existing electrical wiring to carry a network signal, giving you a wired or WiFi connection in rooms where your […]
